|
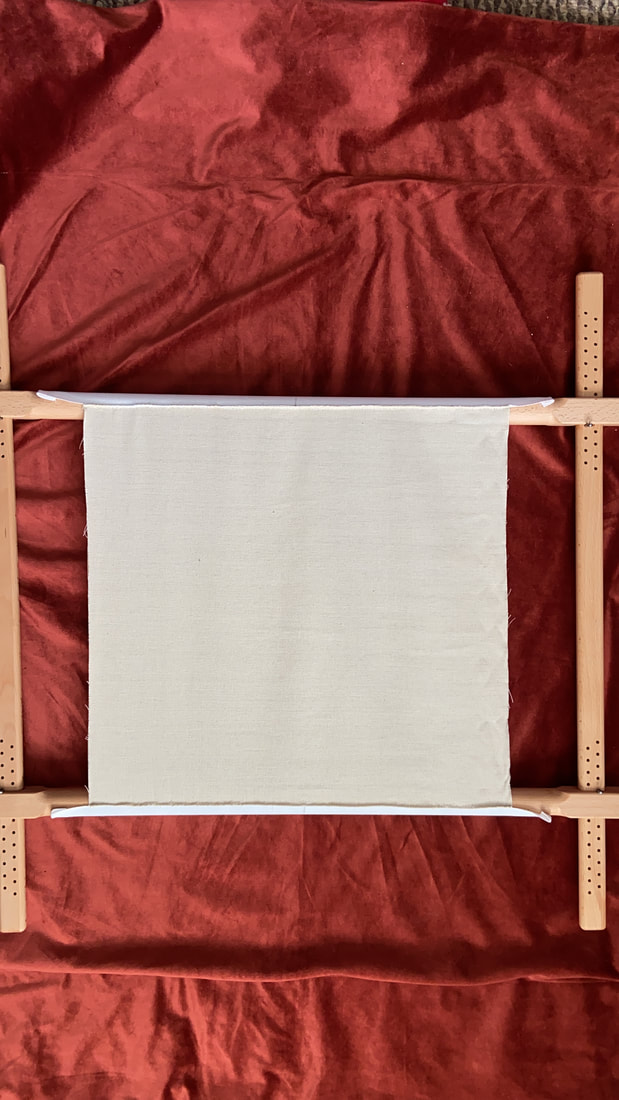
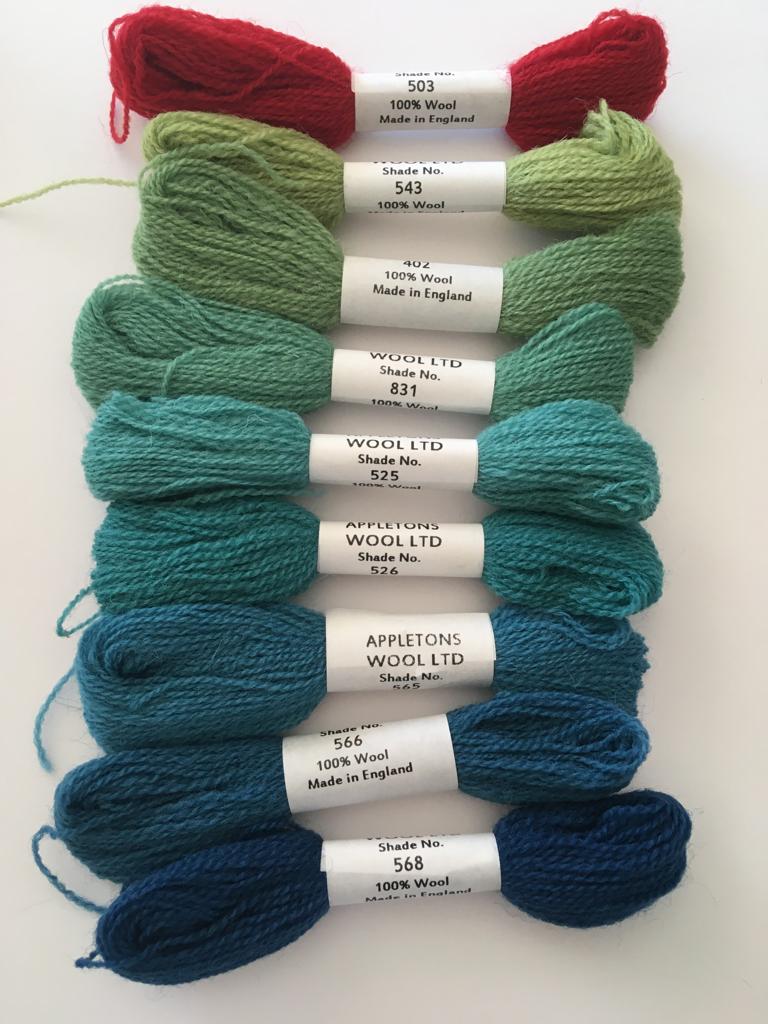
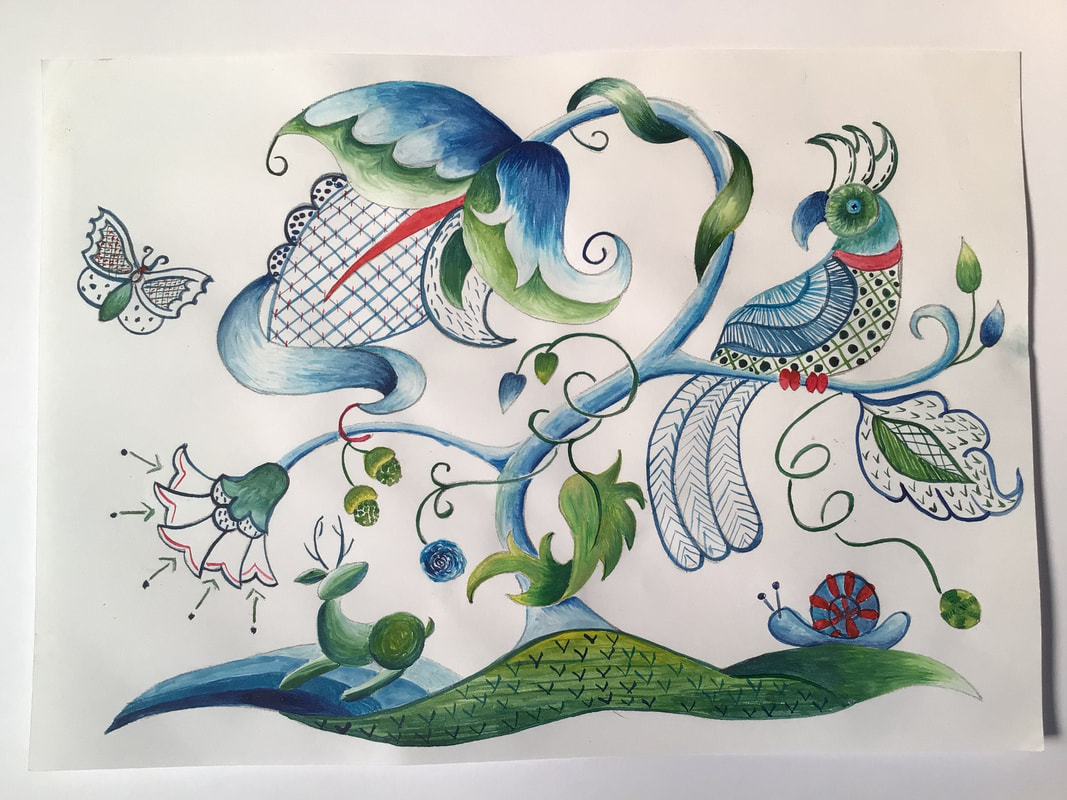
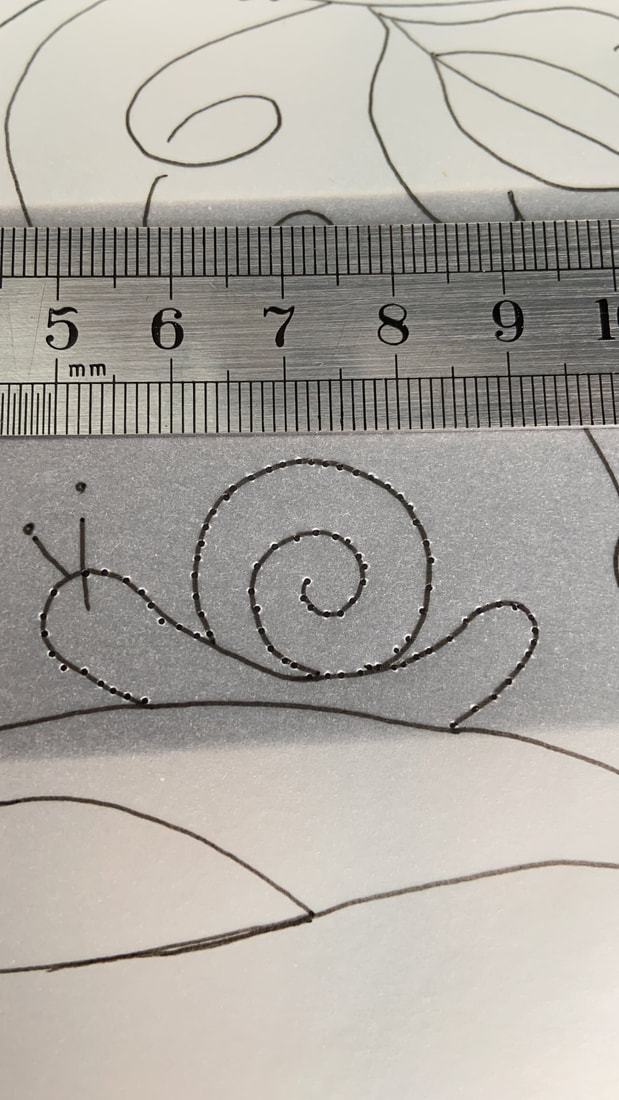
During the last few months I have started the Royal School of Needle work Certificate Course. We started with Jacobean Embroidery which is stitched using Appleton wools. When you sign and pay for your first module you receive a kit which contains a slate frame, materials required less the wool and a book explaining the process. This book you will find is great help during the course. Along with materials provided you will need to gather together a steel ruler, coloured pencils, watercolour paints, glue and a few more items. The tutor guides you on setting up your slate frame and placement of design which around A4 size. The design must be Jacobean in style and feature hillocks, bids, flowers, animal , leaves and have at least 18 different stitches within it.
0 Comments
As an artist I create on a daily basis. The pieces I make can be small or part of a larger work that is in progress. my mind is always buzzing with ideas and to ensure I do not forget them all I write down ideas and draw quick sketches in note books and I have many many note books! Since I was a child I see the makings of art in plants, found objects, second hand buys and so much more. During lockdown I have spent many hours learning how to take photos with my iPhone, improve lighting on my work and use different apps to bring it all together. I have through all this fallen out of love with Facebook and in love with Instagram. I love it, here is my link to it, www.instagram.com/sunartcrafts, I love the reels, the stories and the simplicity of it. During lock down people of all ages learned to use , computers, iPhone, iPad and of course Zoom. I have taken many embroiderers classes on line to improve my skills and keep me up to date on new techniques. I enjoy doing detailed work but every now and then you need to break free and create simple fun things. I love to enjoy colour whether it is with threads or paint or fabric, my soul never stops needing. The images here are just a tiny fraction of what I do, lots of new makes, kits and ceramics and of course embroidery work, enjoy I During the last few days the weather has become warm and sunny even tropical at times. Everyone has taken advantage of the good weather, the freedom from lock down and headed to the beaches. I have enjoyed our garden and spending time working outside in the fresh air at my garden studio. A comment was made to me saying 'its hot enough to fry an egg' and this inspired a new embroidery piece, The Fried Egg. People chatting always fill my head with ideas for my arts and crafts. I used a small hoop, some cotton fabric and felt for padding the centre of the egg. Long stitches were used to create the centre and french knots and multi coloured beads for the egg white. I created a slide show to explain the different stages of making the brooch. The light bounces off the beads to give a lovely effect to the Fried Egg Brooch and bring it to life. I enjoyed making this brooch and I think I shall embroider some more, maybe even a double yoke!  Close up image of The Fried Egg brooch.  As Autumn draws in and our days grow shorter , it’s getting nearer Christmas time. Christmas is a time I adore, I have such wonderful memories of my mother preparing for Christmas. Making the cake and wrapping it in layers of grease proof paper and tinfoil and then every so often spooning brandy over it. Then wrapping it up again until it was time to ice it . Together we would sort through the Christmas decorations and I loved getting our Christmas stockings and hanging them up. Christmas stockings say Christmas to me. I have made so many of them over the years and just love creating new designs on them.  This year I have taken pure wool cloth and made my first Christmas stocking of the year. I used a pattern I had bought some time ago and cut out the wool pieces. I used my sewing machine to stitch the stocking and lining together. I hand stitched the branches and leaves on to the stocking and embellished them with beads. I had a piece of Christmas ribbon which I formed into a bow and loop for hanging up. I added some red beads and gold sequins for Christmas bling.  The Christmas stocking has three baubles on it and I added beads to these to make them shine and a little gold hanging loop. I like the black wool for the stocking as it allows the decorations on it to stand out. The Christmas stocking has a rustic old world feel to it which I love. I shall be making some more Christmas decorations and I will share them with you when I have finished. I hope you enjoy my creations and look forward to sharing more of my Christmas delights with you.  The Booker Fairy Doll was inspired by my love of the little folk who live in our countryside and by the fairy dell I am creating in my garden for my granddaughter. I gathered together wire , vintage fabric, beads, feathers and lots of delightful things to create this wonderful doll. The Book Keeper stands almost two feet tall , with a velvet top hat hiding a scroll book and pink boots with beads and bows.  She was truly a delight to make and design , with her patch work skirt, her recycled denim coat and glitter wings. She has lots of books in her big coat pockets and also in her shoulder bag. A book even hangs from her waist and keystone secret doors hang from her belt.  Her beautiful pink glitter wings are large enough to carry her to far off places and gather more stories and keys. I made her wings from thin wire , cotton fabric , beads and of course glitter , to make her shine.  If you look closely at her clothing , you will find lots of recycled jewellery and gems adorning her. The jewellery she wears relates to the woodland , cats, deer, fairies and so much more. Flowing ribbons hang from her waist and lace decorates her cuffs. I think my fairy Book Keeper needs a friend, so time to thread the needle again and begin the next part of the story..  There is nothing as relaxing as taking threads, wool and fibers and weaving them into patterns on a mini loom. My loom is only four inches wide and around ten inches long and it’s perfect for my needs. As I am working on a large scale wall hanging I want to add texture and a 3 D dimensional feel to it and these little woven pieces will be perfect. The loom is very simple to set up by just add a strong warp yarn. The warp yarn runs lengthwise or top to bottom and is held firm by the loom. The weft yarns are woven side to side, in out through the warp yarn. You can use a single or multiple yarns in the weft weave. I use a large sack needle to hold my weft yarn as I find it easy to weave in and out through the warp threads.  My weaving tools, threads, yarns, scissor, large sack needle and my mini loom. Weaving has many different tools and patterns but I keep it very simple and easy for myself. The colours that I am working with are very earthy tones which reflect the feel of my textile picture. My piece in inspire by the local abbey near my studio. It is Tintern Abbey in Saltmills founded by William Marshal in c.1200. It has a fabulous wood and river running through its grounds out to the sea by way of Bannow Bay. It is a most inspiring place for me as an artist and I cannot help but link the land and shore in my work. As autumn creeps it’s way into our lives , so too does it’s earthy colours and warm tones. My colour selection of yarns is very much influenced by this. When I have woven my small pieces, I remove them from the mini loom and tie off the ends. I then manipulate them into different shapes to adore my textile pieces. This new work will take some time but I will post the finished work here when completed. This shell art was so exciting to do, I loved how the paint and pens took to the shells. I draw with very fine graphics pens .05 in size and I used watercolour paints for the face. I small fine paint brush was required to achieve the fine detail and a steady hand I have a great love of the sea both above and below the water. As a child we played on my dad’s boat and later sailed along the coast with my son following dolphins who came to join us. I also did some scuba diving in the cold waters around the Irish shore and my longest scuba dive was from the Hook Light House to Slade harbour in Wexford.  Washed Shells & Threads Mixing threads and shells together has been interesting and exciting. I searched through my boxes of threads and fine wools and choose those that I felt would work with the shells. I also used some small metal files which I have for crafting to remove sharp edges. You need to be gentle with shells as they can crumble easily. You can also try using a small nail file. I also decided to add so beads as I felt they created a texture on the shells just like the sea creatures that attaches to them in the sea.  Woven patterns As I worked on the shells, I found that I had to weave the threads around the shell and through the holes to create a foundation for sewing with finer threads. I used a very tiny crochet hook and fine threads to fill in the underneath of the shells. It was interesting and intriguing to hold the shells and decide on colours and beads to use. My mind was full of ideas on what to do with my stitched shells. I decided I will add some to textile pictures to create texture and others I will make into brooches. When adding beads to the stitching on my shells I used a long beading needle. This is a very long thin needle which allows you to sew on seed beads which are very fine. As I was working on my shells the smell of the sea filled my studio even though I had washed the shells. It was a pleasant odour which evokes childhood memories of playing on the beach. I also thought about the life of the shell and it’s inhabitant. From a tiny shell being washed daily by the tides and pecked at by birds , them picked from the shore by a hand and now being treasured. A journey from from shore to land.
|
AuthorWelcome, I am Deirdre, artist and teacher, garden dweller and dreamer, child of the sea. Archives
March 2024
Categories |


 RSS Feed
